
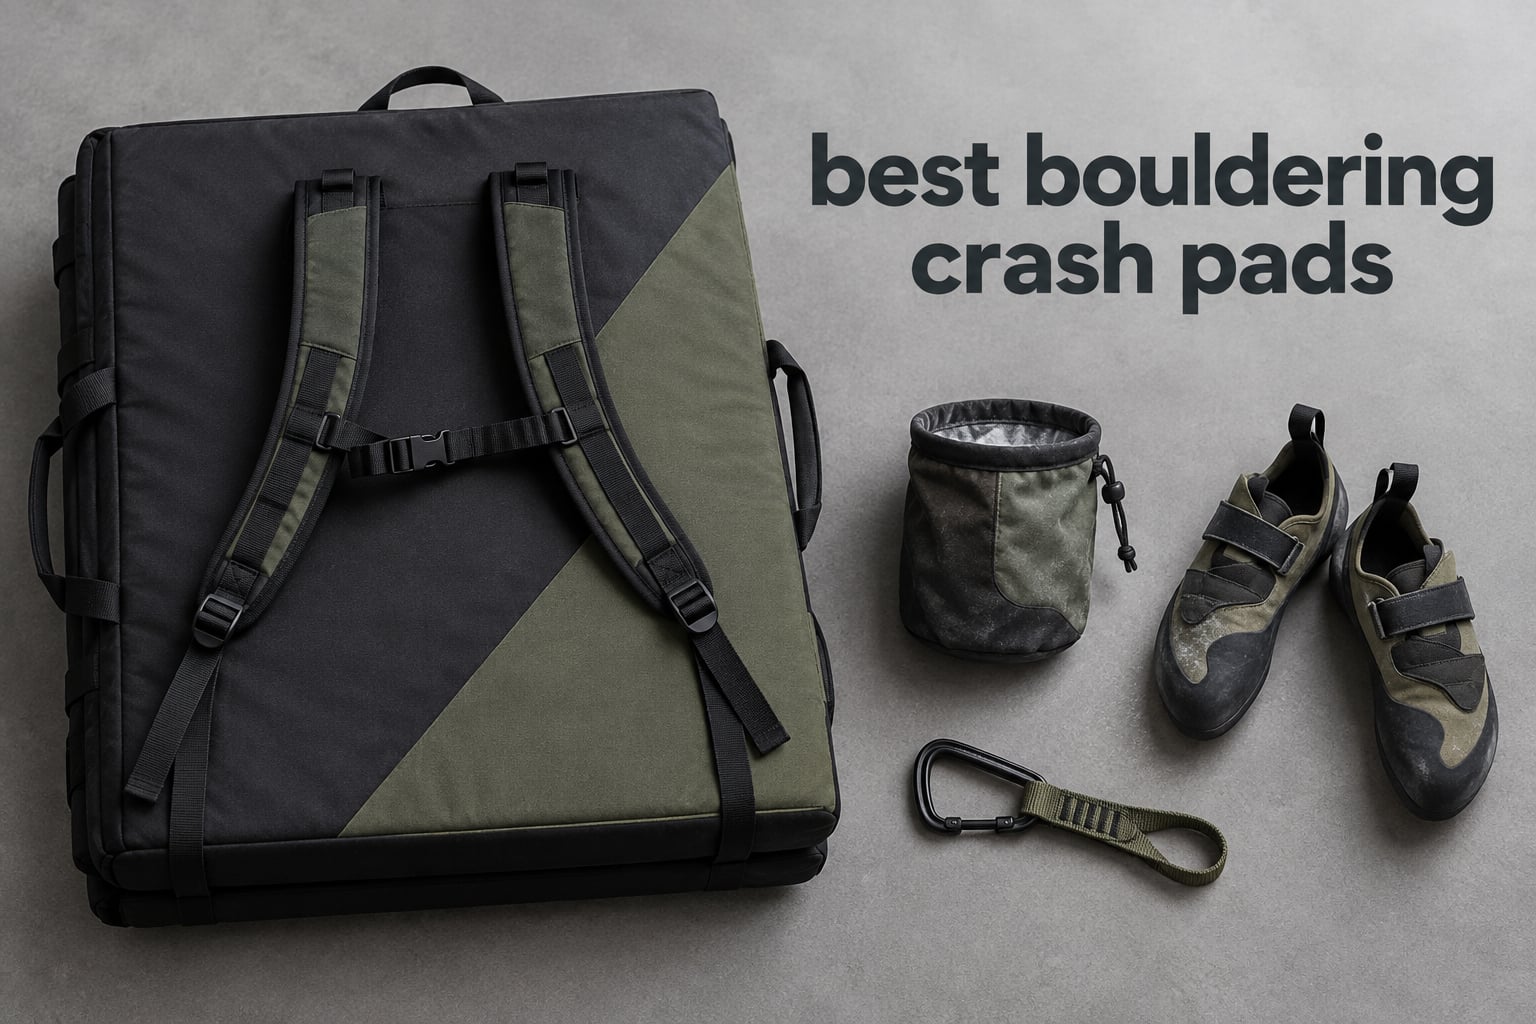
A bouldering crash pad is a folding foam mat, usually four to five inches thick, that a climber lays on the ground beneath a boulder problem to cushion falls. Bouldering has no belayer and no rope between you and the ground, so the pad is the primary piece of safety equipment in the sport. If you have ever landed awkwardly on a boulder, you already know that a thin, small, badly positioned pad turns a two-metre fall into a tweaked ankle or a bruised tailbone.
That makes the best bouldering crash pads a genuinely consequential purchase rather than a cheap accessory. Our team pulled the current generation of pads available now, checked the published foam layering and dimensions, compared real carry weights, and read every customer rating we could find on each model. Six pads cleared the bar for a real, on-topic bouldering crash pad with usable user feedback, and those six are the ones below. We have deliberately not padded the list out with kids’ sensory mats, gymnastics mats or weightlifting drop pads, even though those flood the same search results. They are not bouldering pads and they will not protect a landing.
Our verdict up front: the Metolius Session Pad II is the best bouldering crash pad for most people in 2026. It is the lightest pad here at nine pounds, it has by far the largest review base of any bouldering pad we could find, and it holds a 4.6 star average with 86 percent of ratings at five stars. If you are landing highballs or want one enormous landing zone, the Meister Boulder Beast XL is the softest and biggest option in the group. Everything else we tested falls somewhere between those two poles, and we tell you exactly where.
One note before we start: we do not list prices here, because they move constantly and a number that was accurate this morning can be wrong by the time you read this. Use the check price buttons on each card to see the current figure, and judge value against the size, thickness and foam you actually need rather than against a number in a stale article.
Table of Contents
How We Evaluated Six Bouldering Crash Pads
Most crash pad roundups you will find while researching this topic publish no method at all. They list a pad, quote its marketing line, and move on. We think that is the main reason so much of this content is out of date, so here is exactly what we looked at for every pad in this guide.
Landing area. We use unfolded length by width to work out whether the pad covers a realistic fall line, and we weigh that against how far you have to move it between problems. A huge pad that takes three people and ten minutes to reposition is a worse tool than a medium pad you carry to every problem in a circuit.
Thickness and foam layering. Bouldering pads layer softer open-cell foam, which absorbs and disperses impact, over firmer closed-cell foam, which stops the pad bottoming out and driving your body into the ground. We note the layer structure wherever the manufacturer publishes it, and we flag pads where it is not published, because undisclosed foam layering is the single biggest unknown in a pad you are trusting with your spine.
Carry weight and suspension. We recorded the real packed weight rather than a marketing adjective, and we paid attention to whether the pad has padded shoulder straps, a waist belt, sternum strap and load-lifter straps. A nine-pound pad with a proper suspension system beats a lighter pad that cuts into your shoulders over a long approach.
Shell and hinge durability. We look at fabric denier, the base panel, and how the pad closes. Baffles that stop lying flat on uneven ground are the most common long-term complaint we found in owner feedback, and ballistic shells such as 1680D nylon hold up far better to talus and schrub than lighter woven cloth.
User evidence. Finally, we weighted the size and shape of each pad’s review base. A five-star average from a single rating tells you almost nothing, so where the evidence is thin we say so in the write-up rather than presenting a spec sheet as if it were field experience.
One thing we could not do in the same rigour as a lab test is physically drop-test every pad to failure. Instead, we cross-checked manufacturer specifications against what long-term owners report, which is how we identify which of these pads bottoms out, develops dead spots or fails at the hinges. Where we rely on owner reports rather than our own measurement, we say so plainly.
Top 3 Picks for the Best Bouldering Crash Pads in 2026
These three are the shortlist if you want to skip the rest. The Session Pad II is the safest all-round buy, the Boulder Beast XL wins on pure landing area and softness, and the DRKSBESTO tri-fold is the one that balances a large unfolded footprint with a genuinely light carry.
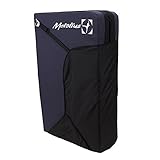
Metolius Session Pad II
- 9 lb carry weight
- 37 x 26 inch landing area
- Two foam compartments with flap pocket
- Largest review base of any bouldering pad

Meister Boulder Beast XL
- 72 x 44 inch landing area
- 5 inch four-layer foam build
- Corner carpet square and gear loops
- Hook-and-loop flaps to join pads

DRKSBESTO Tri-Fold Crash Pad
- 71 x 39 inch landing area
- Folds to 39 x 24 x 12 inches
- 9.9 lb carry weight
- 600D Oxford shell with anti-slip face
One note on the top three: the Meister pad has a perfect five-star average, but it is also the bulkiest thing in this guide at roughly 44 by 24 by 15 inches folded. A perfect score from eighteen owners does not make it right for a crag with a forty-minute approach, which is exactly why the Session Pad II takes the overall spot despite scoring lower.
Best Bouldering Crash Pads Compared at a Glance in 2026
Here is the full field in one place, so you can size it up before reading the individual write-ups. The Key Features column gives you the decision-relevant specs for each pad rather than marketing copy.
| Product | Specifications | Action |
|---|---|---|
| Metolius Session Pad II |
|
Check Latest Price |
| Meister Boulder Beast XL |
|
Check Latest Price |
| DRKSBESTO Tri-Fold Crash Pad |
|
Check Latest Price |
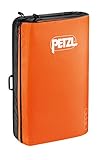 Petzl Cirro Crash Pad Petzl Cirro Crash Pad |
|
Check Latest Price |
 Asana Hero Bouldering Crash Pad Asana Hero Bouldering Crash Pad |
|
Check Latest Price |
 TRANGO Cumulus Crash Pad TRANGO Cumulus Crash Pad |
|
Check Latest Price |
Two patterns jump out. First, the biggest landing areas and the heaviest packs belong to the same pads, which is not a coincidence: foam is heavy and area is foam. Second, the two pads with the least user evidence are also the two with the thinnest published specifications, so if you are torn between them, buy neither until you have talked to someone who has used one.
1. Metolius Session Pad II – Best Overall and Lightest for Long Approaches
Metolius Session Pad II
37 x 26 inch landing area
Two foam compartments
9 lb listed weight
Nylon and polyester shell
Pros
- Lightest carry weight in this roundup at 9 lb
- Recognisable climbing brand with an established pad line
- Simple two-compartment layout with a single flap pocket
- 86 percent of ratings are five stars
- Compact enough to reposition between problems solo
Cons
- Only one external pocket limits gear organisation
- Nylon and polyester shell wears faster than ballistic fabric
- 8 percent of ratings are one star with some durability complaints
This is the pad we have the most confidence recommending, and the reason is not the spec sheet. It is that sixty-two people have used it, and 86 percent of them rated it five stars. That is a real track record, and in a category where most listings have zero or one rating, it is worth more than any manufacturer claim we could repeat.
At 37 by 26 inches unfolded, the Session II is a regular-size pad rather than a maxi. It covers a straightforward lowball or mid-height slab landing well. It is not going to blanket a highball fall line on its own, and if your project is eight metres or taller you will want a bigger pad, but for the majority of roadside problems it is the right shape.
The listed weight is nine pounds, the lightest of the six we looked at, and that is the number that matters most in practice. Approaches are where pads get left behind. Owners consistently describe this as a pad you can carry to a boulder, use for six problems, and carry to the next one without thinking about it, and the padded strap system is simple rather than elaborate, which keeps the weight down.
The foam is split into two compartments in a hinged layout, and the exterior is nylon and polyester with one flap pocket. That shell is the pad’s real compromise. Compared to the 1680D ballistic nylon on the Asana Hero, it is a lighter woven fabric that will scuff faster on talus, and the single pocket means shoes, a water bottle and a layer all share one space.
When the Session Pad II is the right call
Choose this pad if you boulder outdoors at low to moderate heights, walk in more than ten minutes to reach rock, or want a first pad that will not wear you out. Nine pounds is the difference between carrying a pad and dragging one, and on a circuit that difference decides whether you bring it to the fourth problem or leave it at the car.
It is also the pad we would suggest to anyone who climbs on uneven or sloped ground, because at this weight you can move it quickly to square up a landing that keeps drifting. Repositioning a light pad to sit square to the fall line is a two-minute job; repositioning a twelve-kilogram one is a group effort.
When the Session Pad II is the wrong call
Skip it if you land highballs regularly. Thirty-seven by twenty-six inches is not much surface area for a fall from the top of a tall problem, and you would be repositioning constantly, which is exactly what you do not want when you are tired. For that, look at the Meister or the Petzl.
It is also the wrong choice for a guide or a climber who hauls pads across rough talus every weekend. The nylon and polyester shell and the single-pocket layout are fine for a careful owner, but the 8 percent of one-star ratings we saw point at long-term wear complaints, and a guide bag punishes fabric harder than a weekend walk does.
2. Meister Boulder Beast XL – Best Landing Area for Highballs
Meister Boulder Beast XL Tri-Fold Climbing Crash Pad w/Backpack Straps
72 x 44 inch landing area
5 inch four-layer foam
72 x 44 x 5 inch unfolded
Corner carpet square
Pros
- Enormous 72 x 44 inch landing area
- 5 inch total padding from four foam layers
- Integrated corner carpet for wiping shoes
- Removable backpack straps with waist and chest straps
- Duffel handles and gear loops for bottles and shoes
- Hook-and-loop side flaps join multiple pads
- 96 percent of ratings are five stars
Cons
- Bulky at roughly 44 x 24 x 15 inches folded
- Heaviest pad here at about 12 kg packed
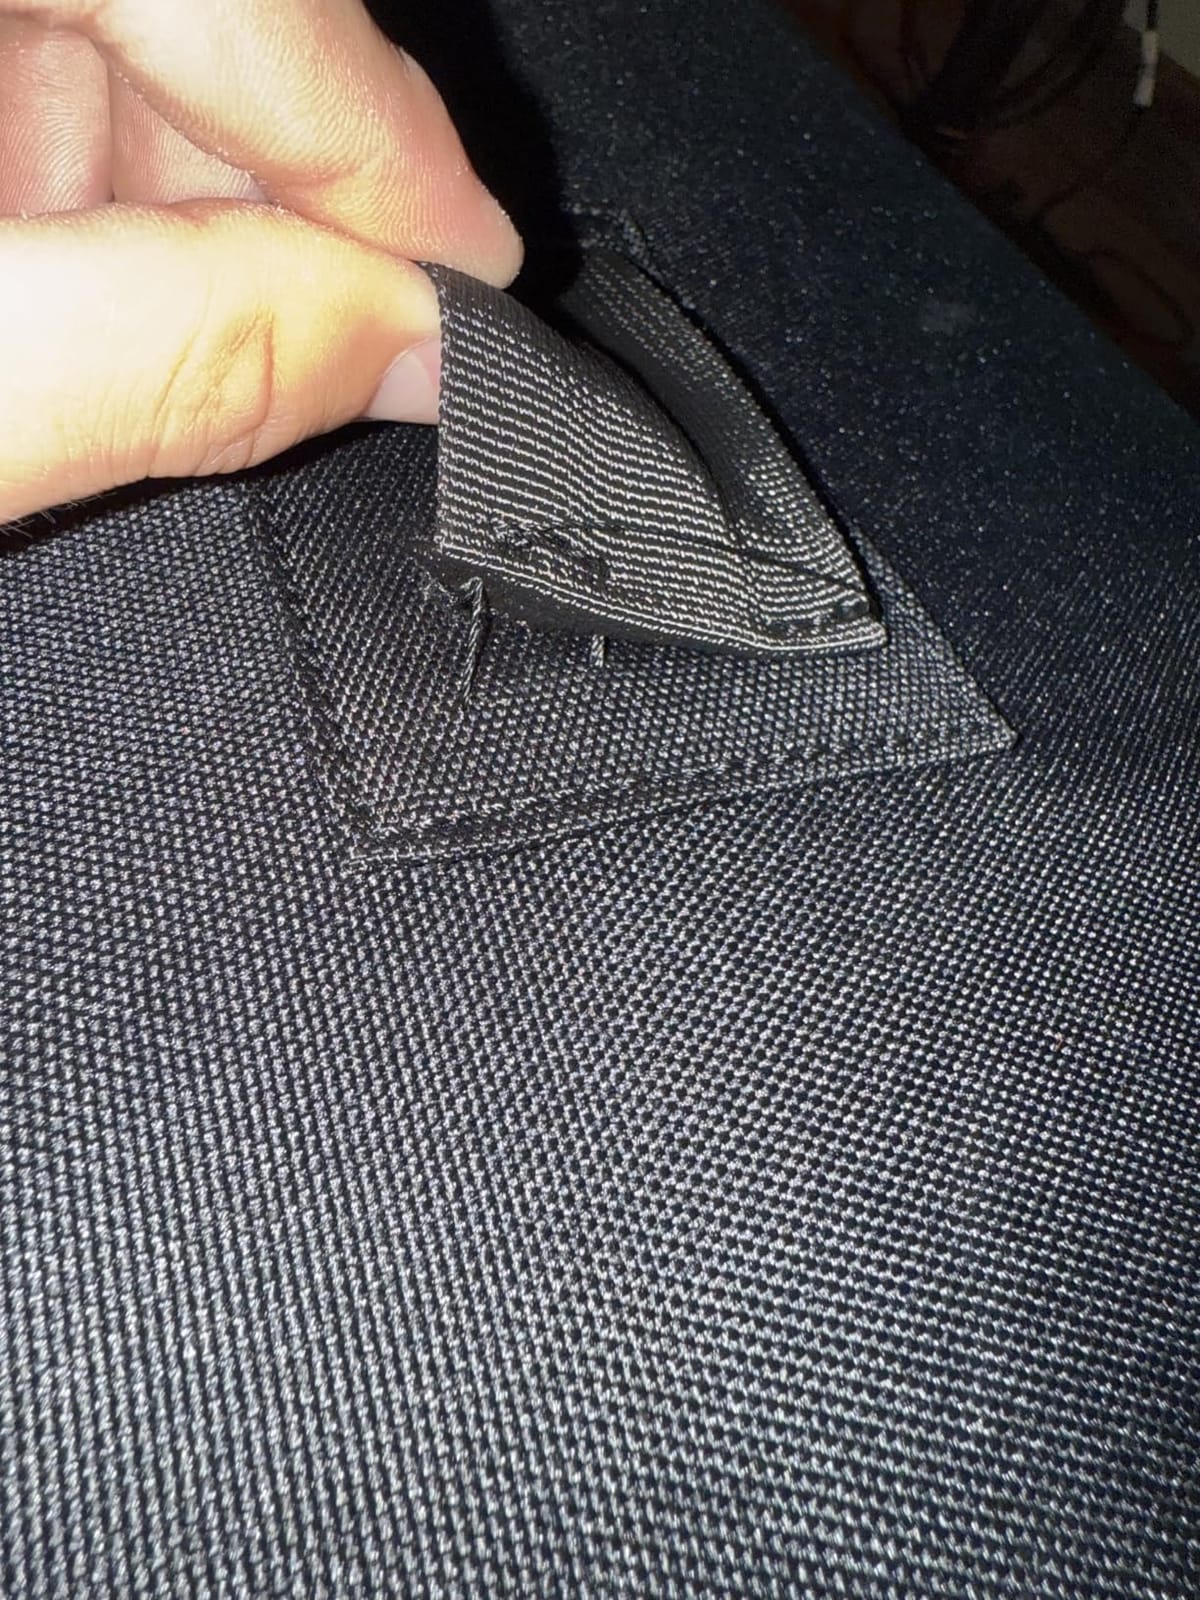
- One reviewer reported faulty strap stitching
This is the pad to buy if your boulder problem is tall and you keep falling on the same line. Seventy-two by forty-four inches unfolded is the largest landing area of anything in this guide by a wide margin, and 96 percent of the eighteen owners who rated it gave it five stars. It is also unambiguously the heaviest and bulkiest pad here, so it is a car boot pad unless your crag is close.
The foam is the story on this one. Four layers of open and closed cell foam per panel give five inches of total padding, which is the thickest build in the roundup. That thickness is what stops it bottoming out on a repeated highball attempt, and it is why owners describe the landings as the softest they have used. If you have a bad ankle, a past tailbone injury, or simply hate landing on your heels, this is the pad that addresses it.
It is also remarkably well equipped for something this large. There is an integrated carpet square in one corner for scraping grit off your shoes before you climb, gear loops for shoes, bottles and a rucksack, duffel-style handles, and removable backpack straps with a waist belt and chest strap. Several owners also use it doubled as a sleeping mat or a camp bench, which tells you how much foam is in the thing.
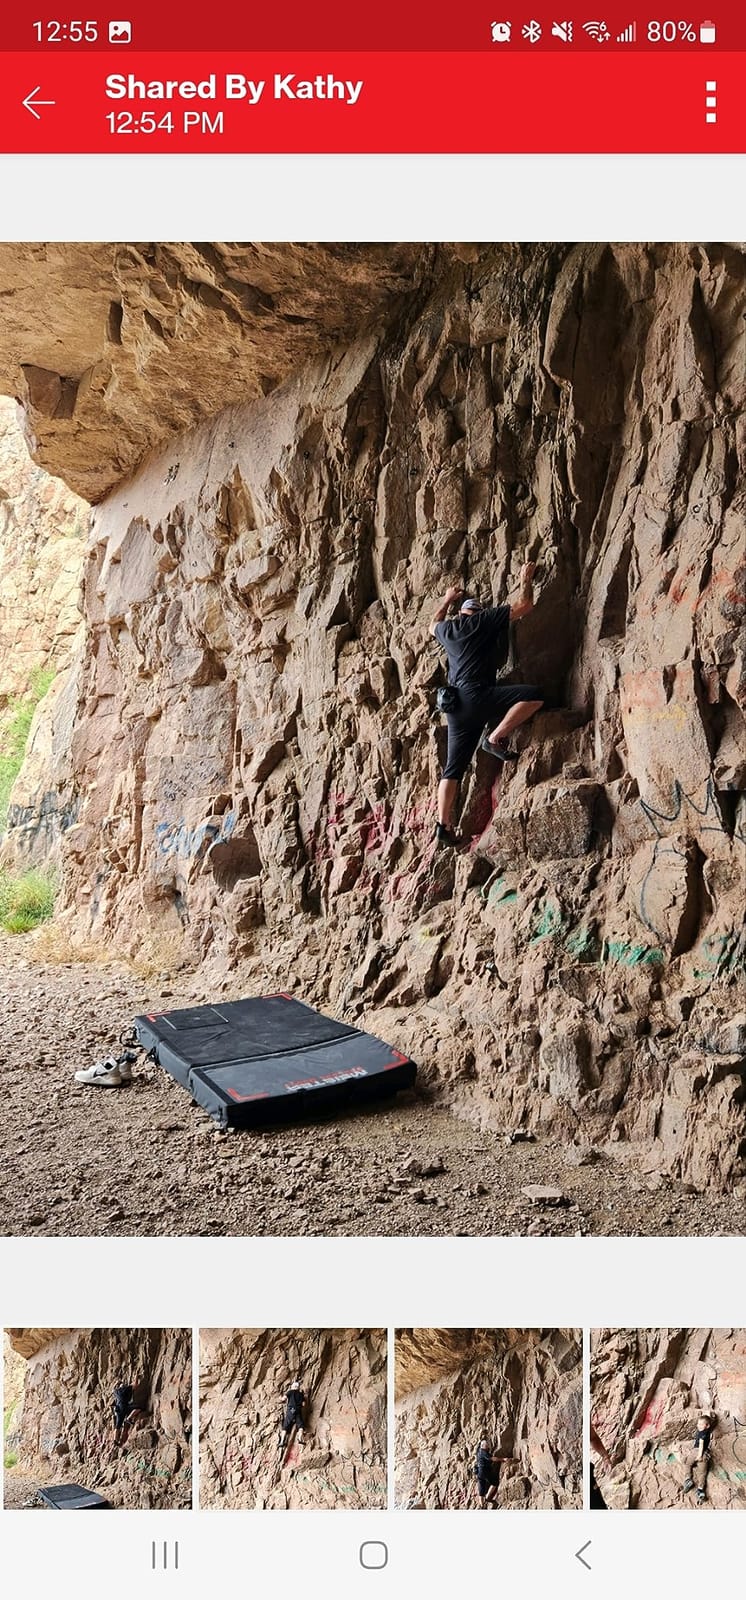
Who the Boulder Beast XL suits
It suits anyone climbing highballs above the normal landing-zone size, anyone with a lower-body injury history who wants maximum cushioning, and anyone with a spray wall or large home setup where landing area matters more than pack weight. The hook-and-loop side flaps are a genuine bonus here, because you can join it to a second pad and build a landing zone that no single pad could cover.
It also suits climbers who circus. Because the area is so large, you can often set it once and cover two or three problems, which is the opposite of the repositioning grind the smaller pads force on you.
Who should skip it
Skip it if your crag involves a long or rough approach. Folded, this thing is about 44 by 24 by 15 inches and roughly 12 kilograms packed, and the removable straps are a genuine help but not a solution for carrying that volume up a steep hillside for an hour. Owners consistently name bulk as the one thing they would change.
Also be aware that one reviewer received a pad with faulty strap stitching and a backwards-sewn fold strap. It reads as an isolated quality-control outlier rather than a pattern, since the same owners rated everything else highly, and the brand’s warranty statement invites contact if a product does not work for you. If the stitching looks wrong on arrival, get it replaced rather than trusting it on a highball.
3. DRKSBESTO Tri-Fold Crash Pad – Best Balance of Area and Pack Size
DRKSBESTO Tri-Fold Rock Climbing Crash Pad w/Adjustable Backpack Straps – Supplemental Bouldering Crash Pad – Durable Climbing Crash Pad, Lightweight & Portable – Folded Size 39″x24″x12″
71 x 39 inch landing area
Folds to 39 x 24 x 12 inches
9.9 lb carry weight
600D Oxford shell
Pros
- Large 71 x 39 inch landing area
- Folds down to a compact 39 x 24 x 12 inch pack
- Light 9.9 lb carry for the size
- 600D Oxford shell with anti-slip surface
- 18D high-density pearl foam for shock absorption and rebound
- Velcro closure keeps the mat flat after unfolding
Cons
- Thinner at roughly 3 to 4 inch than the 5 inch pads
- 600D Oxford is lighter than 1680D ballistic nylon
- Also marketed for yoga
- dance and camping use
Here is the compromise pad, and it is a smarter compromise than most. Seventy-one by thirty-nine inches unfolded is essentially the same landing area as the much bulkier Meister, but it folds down to 39 by 24 by 12 inches and carries at 9.9 pounds. If you want a big pad without a big pack, this is the one to look at.
All ten ratings sit at four stars or above, with none below four, and no negative reviews at all in the set. Buyers consistently point at the same thing: the balance between a big unfolded surface and a small folded footprint, with a carry weight that is genuinely light for a pad this size.
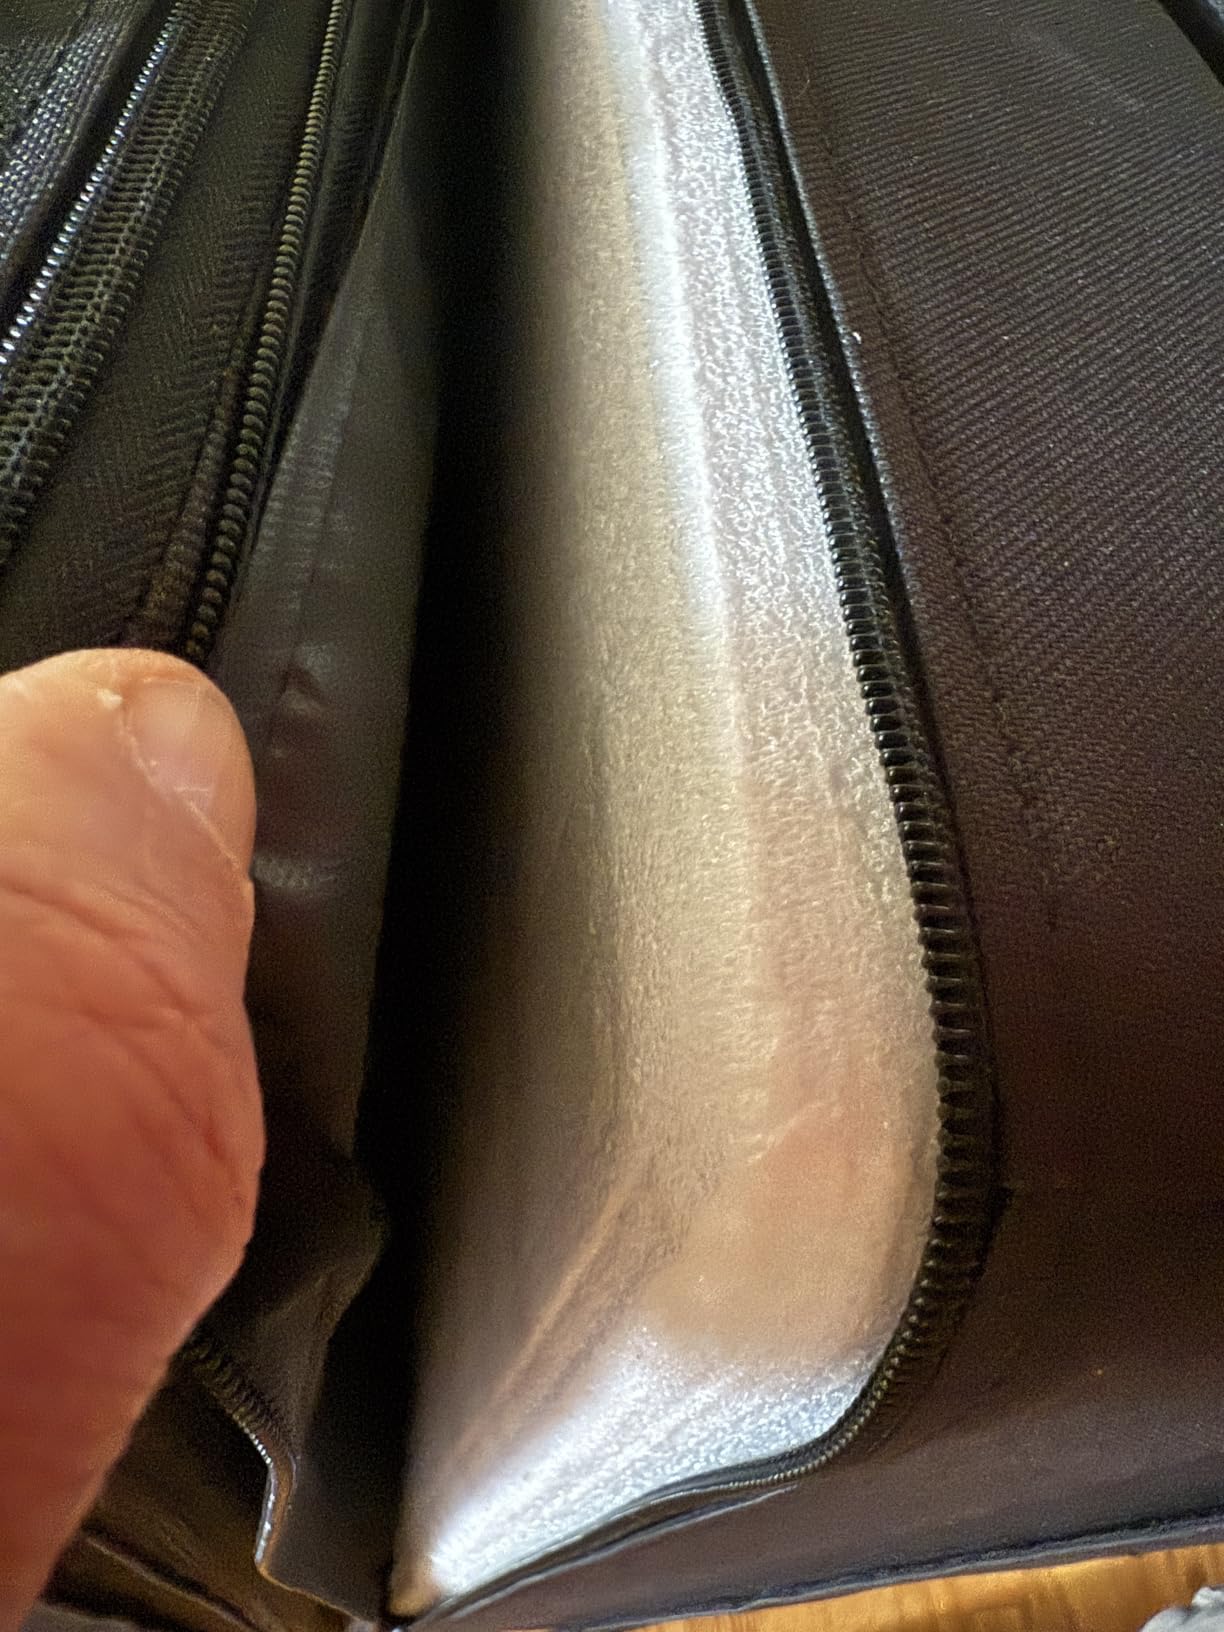
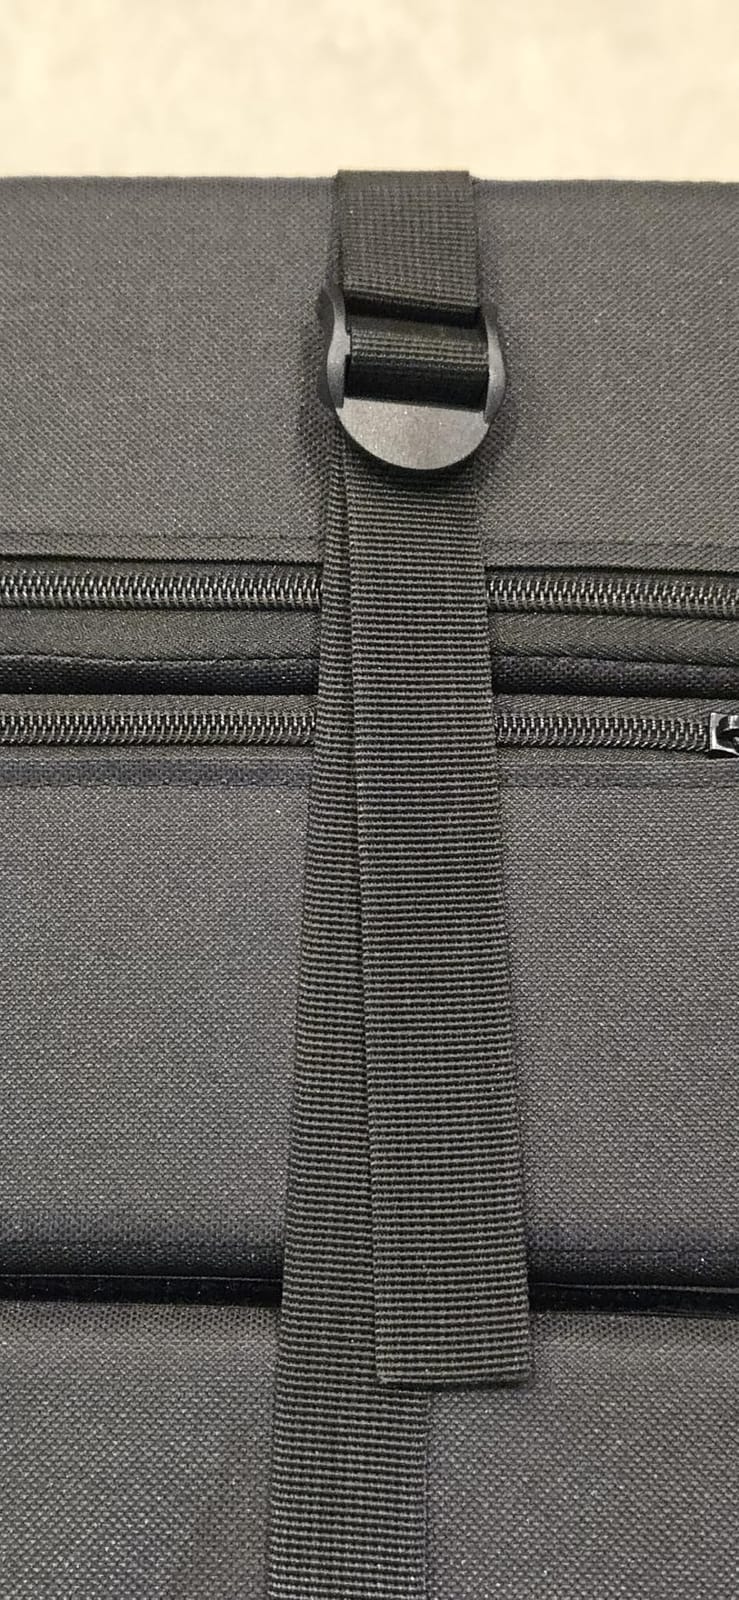
The shell is 600D Oxford with an anti-slip face, and the foam is 18D high-density pearl foam chosen for shock absorption and fast rebound. The carry system uses wider, thicker adjustable shoulder straps with extra adjustable bands at both top and bottom, which is a more considered suspension arrangement than the basic strap-and-pocket setups on smaller pads.
One detail deserves attention: the upgraded Velcro closure system is reported to keep the mat flat and smooth after unfolding. That sounds minor until you have spent a session fighting a pad that springs open into a shallow V every time you set it down, which is a real problem on a landing that needs to be flat.
When this tri-fold pad is the right choice
It suits climbers working a circuit of mid-height problems where a 39-inch-wide pad means you cover the fall line from several angles without constant repositioning. It also suits anyone whose approach is long enough that nine to ten pounds matters, but whose problems are not highball enough to justify a five-inch pad.
It is a good first outdoor pad too, because the flat-lying behaviour and the anti-slip surface make it forgiving to place on sloped or slightly uneven ground, which is where a lot of first-time boulderers lose confidence.
When it is the wrong choice
Skip it for serious highballs. At roughly three to four inches it is the thinnest of the larger pads here, and thickness is what determines whether repeated hard landings compress the foam and bottom out. If your project is a repeated-fall highball, the extra inch is worth the extra bulk.
Also weigh the fact that the listing markets this as a multi-purpose mat for indoor yoga, dance practice and camping as well as climbing. That is not a criticism of the build, which owners rate consistently, but it does tell you the product is positioned as a general sporting mat rather than a dedicated bouldering pad. Buyers wanting a lifetime bouldering tool should know they are buying a generalist.
4. Petzl Cirro Crash Pad – Best for Brand Pedigree and Maxi Coverage
Petzl, Cirro Crashpad, Maxi crashpad for bouldering
Maxi-size landing area
9.4 kg listed weight
One size universal fit
Hand wash care
Pros
- Premium build from a major alpine equipment manufacturer
- Maxi size built for larger landings
- No ratings below four stars
- One size universal fit
Cons
- Heaviest listed weight in the group at 9.4 kg
- Hand wash only makes maintenance more involved
- Smallest review base here at seven ratings
Petzl built their reputation on ropes and hardware, and the Cirro is the pick here for a climber who trusts that pedigree more than a long list of online ratings. It is a maxi-size pad, meaning it is designed around larger landings rather than the compact shapes that suit a single lowball.
The ratings are all positive. Seven owners have rated it, split roughly evenly between four and five stars, and not one has given it less than four. That is a clean distribution. It is also, plainly, a very small sample, and we want to be straight with you about that rather than dressing a seven-rating average up as a verdict.
The listed weight is 9.4 kilograms, the heaviest specification in this group by a distance, and the fit is a one-size universal. Care instructions are hand wash only, which is more fussy than most people expect from a pad but sensible if you care about the foam staying in good shape.
Why choose the Petzl Cirro
Choose it for the manufacturer pedigree, for maxi coverage, and if you bounce pads between partners or a group where a neutral, non-brand-specific pad is useful. Petzl pads are also the kind of thing guides carry, because a well-known brand is a shorthand for “this holds up” when you are on a remote crag with someone else’s ankle on the line.
It is a reasonable choice for anyone whose main worry is long-term durability, since a company of Petzl’s size has more incentive to keep a pad model in production and its spares available than a small-brand pad does.
Why skip it
Skip it if weight is a deciding factor. At 9.4 kilograms this is the heaviest listing in the roundup, and no amount of good suspension makes that comfortable on a long, steep approach. The Session Pad II does the same job at a fraction of the carried weight.
Also skip it if you want to buy on evidence. Seven ratings, none of them negative, tells you very little about how the foam behaves after two winters of wet rock. The manufacturer does not publish dimensions or foam layer detail in the listing, so you are buying the brand name and the word maxi rather than verified numbers. We would want to handle one in a shop first.
5. Asana Hero Bouldering Crash Pad – Best Suspension System and Shell Durability
Asana Hero ‘Mountain’ Bouldering Crash Pad – Deluxe Suspension, Triple Layer Dual Density Foam Structure, Heavy Duty Nylon – Premium Rock Climbing Crash Mat (48 x 36 x 4)
48 x 36 x 4 inch pad
Triple-layer dual-density foam
1680D ballistic nylon shell
Deluxe suspension carry system
Pros
- Triple-layer foam with 2 inches of open-cell foam between closed-cell layers
- 1680D ballistic nylon shell over a 1000D deck
- Deluxe system with contoured shoulder straps load-lifter straps sternum strap and waist belt
- Piggyback flaps for attaching supplemental pads
- Four high-visibility carry handles for spotters
Cons
- 12 lb listed weight is heavy for a 4 inch pad
- Only one rating means durability is unproven by users
- 48 x 36 inch landing is mid-size rather than maxi
The Asana Hero is the best-specified pad in this guide, and the specification is genuinely good. It is also the pad where user evidence is thinnest: a single five-star rating exists, so what follows is an assessment of a well-documented build rather than of proven field performance.
The foam is the strongest part of the claim. Triple-layer construction with two inches of open-cell foam sandwiched between closed-cell layers is exactly the arrangement that serious bouldering pads use, because the open-cell layer absorbs and disperses the impact while the closed-cell layers underneath resist compression and stop the pad bottoming out. Dual-density construction is designed to give a predictable feel rather than a dead spot in the middle.
The shell is where the Asana separates itself from most of the field. A 1680D ballistic nylon outer over a 1000D deck is the most abrasion-resistant fabric spec on any pad we looked at, and it is the right choice for talus, desert rock and winter sessions where a lighter woven shell would start to wear through at the drag edges.
Where the Asana Hero earns its place
It suits long approaches where comfort per kilogram matters more than raw weight. The deluxe suspension system combines contoured padded shoulder straps, load-lifting straps that pull the pad up toward your hips, a sternum strap and a waist belt, and that combination is the one most likely to stay bearable over a long carry.
The four high-visibility carry handles are aimed at spotters, which tells you the designers thought about group use. And the piggyback flaps, which let supplemental pads be attached, are the feature that turns a single mid-size pad into a bigger landing zone when you need one. If you climb with partners who bring their own pads, this makes pairing easy.
Where the Asana Hero falls short
The listed weight is twelve pounds, which is heavy for a four-inch pad and heavier than the Session Pad II. You are paying for shell fabric and suspension hardware, not for foam, so if your priority is softness per pound this is the wrong spend.
Its landing area is 48 by 36 inches, which is mid-size. That is genuinely useful for most problems but it is not a highball blanket, and you will be repositioning on tall lines. And with one rating in the set, we cannot tell you how the foam feels after a season or whether the hinges still lie flat on uneven ground, both of which are the questions long-term owners raise most often about pads in general.
6. TRANGO Cumulus Crash Pad – Best Entry Pick, Verify Before You Rely On It
Cumulus Crash Pad
Adaptable transport system
Secure hauling points
Longevity-focused construction
All ages
Pros
- Lowest entry point of the pads in this roundup
- TRANGO pedigree from ropes and hardware
- Listing emphasises durable longevity-focused construction
- Adaptable transport system with secure hauling points
Cons
- Only a single five-star rating so no real user track record
- No dimensions weight or foam layer detail published
- Lowest sales rank of the group
The Cumulus is the newest listing in this group and the one we are least comfortable recommending without a caveat. TRANGO is a respected name in ropes and hardware, so the brand is not a question mark. The pad itself, though, is a single five-star rating with no published dimensions, no stated weight and no foam layer detail, and that is not enough to commit your landing to.
What the listing does tell us is sensible. The construction is described as durable and longevity-focused, the transport system is called comfortable and adaptable, and there are secure hauling points for getting the pad to and from the crag. All of that is fine. None of it is specific.
It is a recent addition to the Amazon catalogue and sits at the bottom of the sales rankings for pads in this roundup, which usually means a new product with no momentum yet. New is not bad, but new and undocumented is a combination we would approach carefully on safety equipment.
When the Cumulus makes sense
It makes sense if you are a beginner who boulders a handful of times a year, you are buying from a brand you already trust for ropes, and you are willing to check the physical specifications yourself the moment it arrives. Measure the unfolded size and the thickness, and check the foam holds its shape before you take it anywhere near a hard fall.
It is also worth a look for anyone who wants to try a maxi-style pad cheaply, though check the shipped dimensions against your landing before relying on it for anything tall.
When to skip it entirely
Skip it if you boulder hard or often. A pad with one rating and no published foam specification is not a place to put a repeat highball fall, and no amount of brand reputation changes the absence of data. If a listing will not tell you how thick it is or how it is layered, treat that as a reason to look elsewhere.
Our honest position is that the Cumulus is listed here for completeness because it is a real, current bouldering pad from a real brand, not because we would put it above the Session II, the Boulder Beast XL or the DRKSBESTO for anybody. Check the returned or replacement terms before you buy, and inspect the pad on arrival.
How to Choose a Bouldering Crash Pad: Six Decisions in Order
Choosing a pad comes down to six decisions, and working through them in order saves a lot of money. Start with the problem you actually climb, not the pad you want to own.
1. Match the pad size to your problem height
Pad sizes fall into broad categories. A regular or short pad is compact and light, and works for lowballs and slab problems where the fall line stays close to your feet. A full-size pad covers a standard fall line and is the sensible default for most outdoor bouldering. An oversized or maxi pad blankets a large area, which matters once the problem goes above roughly ten feet and you can fall away from the wall as well as down. A supplemental pad is not a primary landing pad at all; it fills gaps, covers a second problem, or backs up a primary pad.
The practical question is how far you can fall sideways. A climber coming off a traverse or an awkward side landing travels horizontally, not just vertically, and a narrow pad leaves the edges unprotected. If you climb on ground where you cannot square up the pad easily, buy area over everything else.
2. Choose thickness for the drop height
Thicker foam cushions harder landings and resists bottoming out on repeated falls, and it costs you weight and bulk. As a rough guide, lowballs and slabs under three metres are served by a regular four-inch pad, problems up to about five metres want four to five inches, and anything taller or repeated-fall deserves a full five-inch multi-layer build like the Meister.
Watch for the failure mode called bottoming out, where the pad compresses fully and your body reaches the ground. You feel it as a hard, dead landing that gets worse on the second and third attempt rather than the first. If a pad feels thin on the first fall, it will feel worse on the tenth, and thick layered foam with an open-cell layer is the answer.
3. Understand the foam layering
Open-cell foam is soft, absorbs impact and spreads the energy across the pad, but it compresses permanently under repeated load. Closed-cell foam is firmer, does not compress, and prevents the pad bottoming out. The best bouldering pads layer both, and good pads disclose it. Where a listing does not disclose foam layering, that is a genuine gap in the information you are relying on.
Open-cell foam also absorbs water and dirt over time, so a pad that stays out in the rain will develop firm, lifeless spots. This is the dead-spot problem owners describe, and it is largely unavoidable, which is why storing your pad dry and covered matters more than almost anyone admits.
4. Weigh the carry system, not just the weight
Raw weight tells you only half the story. A nine-pound pad with thin straps and no waist belt will feel heavier than a twelve-pound pad with padded shoulder straps, a waist belt and load-lifter straps. The load-lifter straps are the feature that matters most on long approaches because they pull the pad up toward your hips and off your shoulders.
Torso length is the other issue people run into. If the hip belt sits above your waist or the shoulder straps ride onto your neck, no amount of adjustment will fix it, and suspension adjustability is worth testing in a shop if you can. Suspension complaints are among the most common long-term issues owners report across the whole category.
5. Pick the fold style that suits your ground
A taco fold wraps the pad into a U with the foam on the inside. It is compact and quick, but it creates a hinge line down the middle of the landing that can produce a hard ridge. A sandwich or bifold design splits the foam into two connected halves, which is stable and lies flat but doubles the folded length. A hinge-less or tri-fold design uses internal baffles instead of a long hinge, and it lies flat on uneven ground far better, which is why it is common on larger pads.
Baffles are the feature to check for on rough ground. A pad with an internal baffle structure conforms to a slope or a lump rather than bridging over it. If you boulder on talus or grass, baffles are worth more to you than another inch of foam.
6. Set a budget and know what you get from it
Cheap pads are not automatically unsafe, and expensive pads are not automatically better, but there is a pattern to what each tier delivers. Entry-tier pads get you a basic foam core and a simple strap, and they are fine for a gym floor, a beginners group, or a supplement to a borrowed pad. Mid-tier pads, where most of the picks in this guide sit, add multi-layer foam, a proper hinge or baffle system, a real shell fabric and a hip belt. Premium-tier pads add wider area, thicker layered foam, the most abrasion-resistant shells and fully engineered suspension systems with load-lifter and sternum straps.
For occasional bouldering, renting at a crag or climbing centre for a trip is a genuinely sensible alternative to buying. If you boulder outside a dozen times a year, renting costs you less over several years than owning a pad you will rarely carry. If you boulder weekly, buy, and buy something you are happy to carry rather than the biggest thing available.
On that last point, a useful cross-check when you are shopping: our guide to the best sleeping pads tested covers the same foam-versus-loft trade-off from the other direction, and the reasoning about closed-cell layers, pack volume and long-term compression applies to both products. If pack bulk is what stops you buying, our best laptop cooling pads roundup shows the same size-versus-performance framing at a much lower price point, which is a useful reminder that bigger is not always the better buy.
How Many Crash Pads Do You Need?
One pad is enough for most outdoor bouldering, and it is enough for the overwhelming majority of problems you will climb. Two regular pads plus a small supplemental pad is a common and defensible setup, and it beats one maxi pad for many people because a second person can watch your back while you are climbing, and the second pad lets you cover two problems at once during a circuit.
Use multiple pads by pooling them, overlapping the edges so there is no gap in the landing zone, and by placing one as a primary under the fall line with the second covering a sideways or traverse exit. Connect them where the hardware allows it, as the Meister’s hook-and-loop side flaps and the Asana’s piggyback flaps are both designed for exactly this. The critical rule is that there must be no gap. Two pads with a six-inch slot between them are worse than one large pad, because a falling climber finds the gap.
Safety Notes: Pad Choice Is Only Part of the System
A crash pad is passive protection, and it depends entirely on correct placement, correct size and a competent spotter. Most bouldering injuries are falls onto rock, and the pad only helps if it is under the part of the body that hits first.
Position the pad under the fall line before you climb, not after your first fall. Check that it lies flat, that no rock or root is pushing a ridge up through the middle, and that the edges are squared to where you will actually land rather than where you started. Reposition between every problem, not just every few.
Use a spotter for highballs and awkward landings, and agree the signal before you go. A spotter guides your landing with flat hands at the hips and directs the pad, and the pad and the spotter are two separate systems, not a single one. Climbers on the surrounding problems should be out of the fall line. And if a pad arrives with faulty stitching, damaged hinges or foam that does not recover its shape, take it out of service rather than testing it on yourself.
Durability, Wet Rock and Dead Spots
The most common long-term complaint about any bouldering crash pad is not a broken hinge or a torn shell. It is the foam losing its spring in patches, which owners call dead spots. A dead spot is an area where the open-cell layer has taken on water, dirt and repeated compression and no longer rebounds. You notice it because a landing that felt soft on attempt one starts feeling flat and hard on attempt eight, usually in the same place.
Three habits do most of the work in preventing this. Dry the pad before you pack it, every time, even when it feels fine. Store it somewhere ventilated rather than rolled tight in a hot car boot, because heat and compression accelerate the collapse of open-cell foam. And clean it gently when it does get dirty, following the care instructions on the tag, which for some alpine-brand pads means hand washing only rather than a hose or a machine.
Shell fabric is the part you can actually predict from the spec. A 600D Oxford shell is light and adequate for a clean crag with a short approach. A 1680D ballistic nylon shell, as on the Asana Hero, is what you want if you drag the pad across talus, scramble over rock to set up, or boulder in winter. The drag edges and the base panel take the punishment first, so check those annually for gloss or thinning before you trust the pad on a big fall.
Hinges and baffles are the second place to inspect. Owners across this category report pads that stopped lying flat after a season, typically because a hinge has lost tension or a baffle has been compressed out of shape. A pad that springs open into a shallow V will never give you a flat landing zone, no matter how good the foam is. Lay it flat on level ground once a season and check.
One last practical note on wet and winter conditions. Foam pads and wet rock are a bad combination for the rock, and a wet pad is heavier and more slippery to carry. Many climbers set up a tarp or sitzpad under the crash pad to insulate the climber from the ground, which is sensible, and a few carry a spare foam topper for the days they are not falling on it. If you are camping out at the crag, the same cold-ground problem shows up overnight, and our roundup of the best heated mattress pads tested covers the options for that. Neither a sitzpad nor a warmer sleeping surface replaces positioning the crash pad correctly under the fall line.
Frequently Asked Questions
Which bouldering crash pad is best?
The Metolius Session Pad II is the best all-round bouldering crash pad for most people. It weighs nine pounds, covers a 37 by 26 inch landing area and holds a 4.6 star average across the largest review base of any bouldering pad available. For highballs, the Meister Boulder Beast XL offers a far larger 72 by 44 inch landing with five inches of four-layer foam.
Is one crash pad enough for bouldering?
Yes, one pad is enough for most outdoor bouldering. Choose a full-size pad with a landing area that covers your usual fall line. Two regular pads plus a small supplemental pad is a better setup if you climb with partners, because a second person can spot and cover a second problem. Always overlap pooled pads so there is no gap in the landing zone.
Why are bouldering crash pads so expensive?
Pads cost what they cost because of foam volume and engineering. The cheapest ones use a single foam core and a basic strap. Mid-tier pads add multi-layer open and closed cell foam, a hinge or baffle system, a proper shell and a hip belt. Premium pads add the largest landing areas, five-inch layered builds, ballistic nylon shells and full suspension systems with load-lifter and sternum straps.
How thick should a bouldering crash pad be?
Match thickness to the drop. Lowballs and slab problems under three metres work with a standard four-inch pad, problems up to about five metres want four to five inches, and repeated-fall highballs deserve a full five-inch multi-layer build. Thicker foam cushions harder landings and resists bottoming out, at the cost of weight and bulk on the approach.
What is the difference between a highball and lowball crash pad?
A lowball problem sits low, so the fall is mostly straight down and a compact pad covers it easily. A highball problem above roughly ten feet lets you fall away from the wall as well as down, which needs a maxi-size or oversized pad with far more surface area. The highball is the case where pad size matters most and where a single small pad is genuinely unsafe.
Are cheap crash pads safe?
Budget pads are not automatically unsafe, but they are less predictable. The ones to distrust are listings that publish no dimensions, no weight and no foam layer detail, because you are trusting an undisclosed build with your landing. If a pad has a full spec listing, layered foam and a recognised brand, it can be a reasonable choice for lowballs, gym use or as a supplemental pad.
What foam is best in a crash pad?
Layered foam is best. Open-cell foam absorbs and disperses impact energy, while closed-cell foam underneath prevents the pad compressing and bottoming out on repeated falls. Pads that disclose their layering, such as triple-layer dual-density builds with open-cell foam between closed-cell layers, give the most predictable landings. A single unlayered foam slab is the least protective design.
Our Final Verdict on the Best Bouldering Crash Pads
The Metolius Session Pad II is our pick for the best bouldering crash pads in 2026 because it does the job well without becoming a burden. Nine pounds, a 37 by 26 inch landing area, a recognised brand and sixty-two customer ratings averaging 4.6 stars with 86 percent at five stars. Nothing else in this roundup combines a light carry with that much real-world evidence, and on an outdoor crag, a pad you will actually carry to the problem is worth more than a pad you leave in the car.
Buy the Meister Boulder Beast XL if you climb highballs or want maximum softness and area, and accept the 12 kilogram bulk as the price of both. Consider the DRKSBESTO tri-fold if you want a large landing area with a genuinely light, compact pack and your problems are not tall. Look at the Petzl Cirro if you trust a major alpine brand and want maxi coverage, and the Asana Hero if your long approaches make suspension comfort and a 1680D ballistic shell the deciding factors. We would not put the TRANGO Cumulus under a hard fall on the current published evidence.
Whatever you choose, place it before you climb, keep the landing flat and square to the fall line, and spot properly. The pad is the last line of defence, not the first.